Introduction and Quick Summary
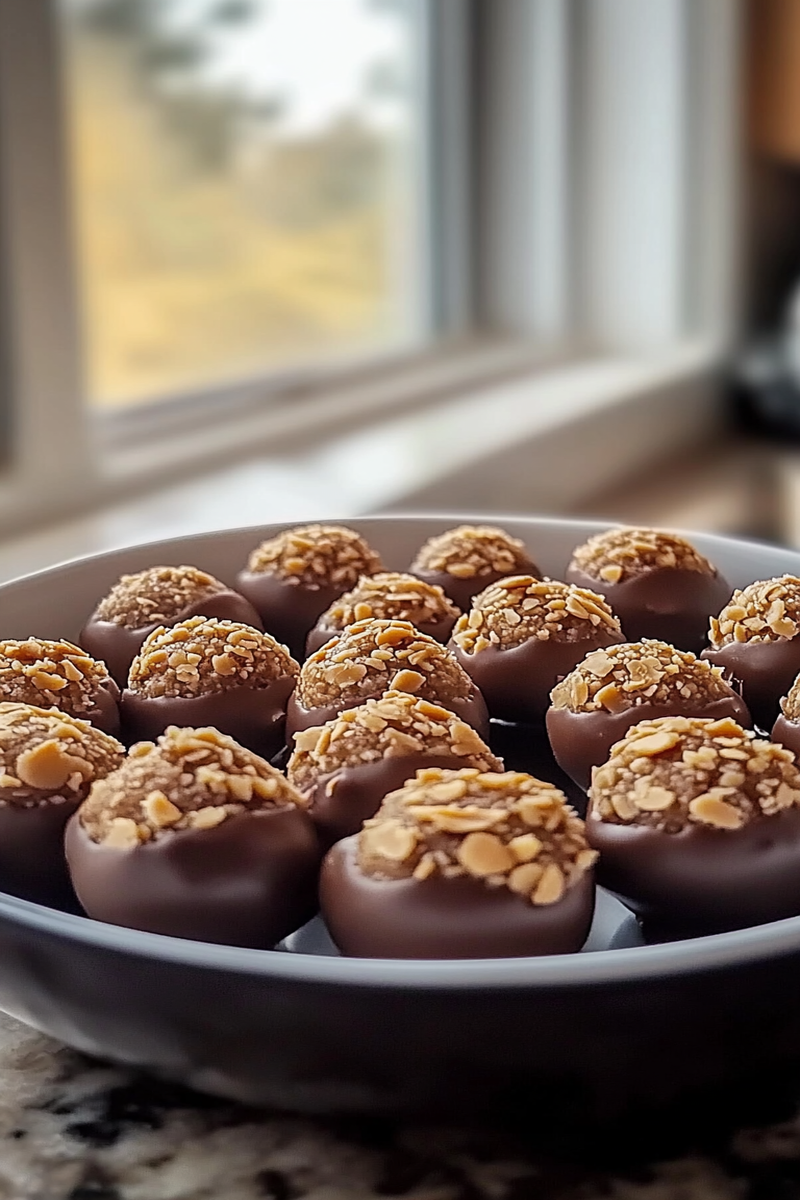
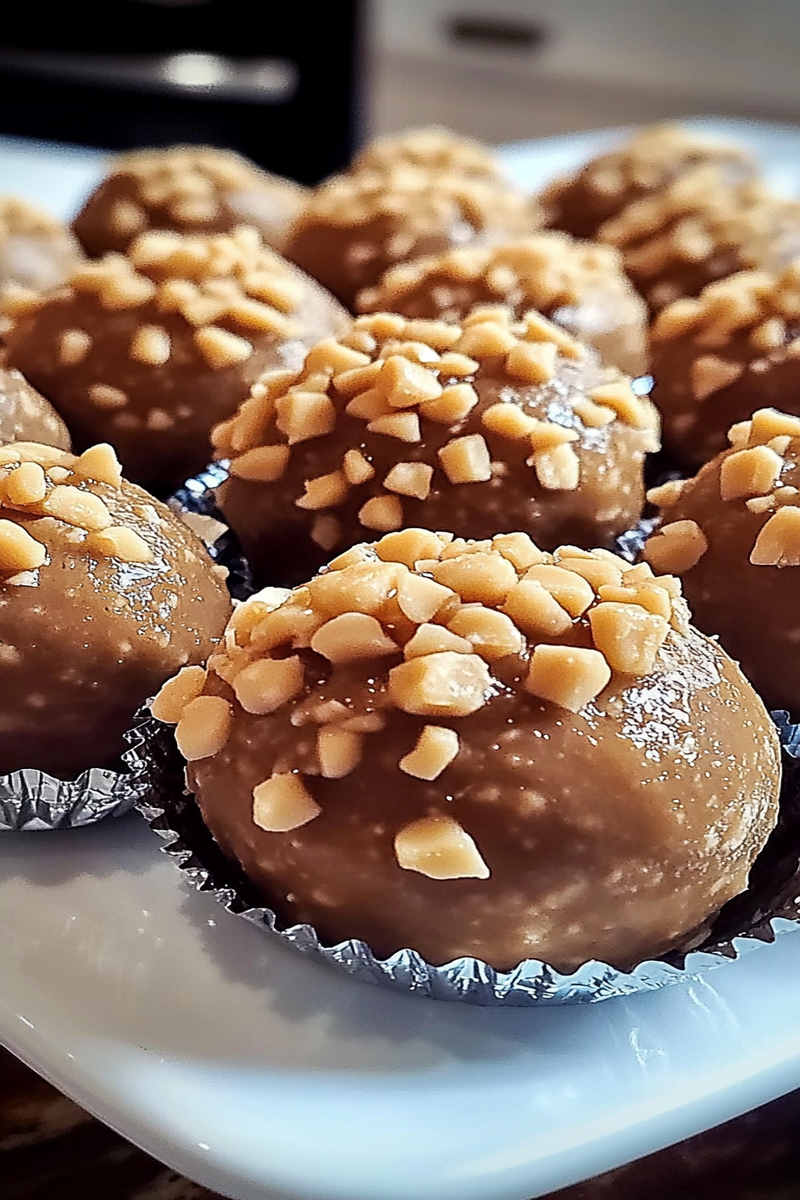
Peanut Butter Balls are not just a treat; they are the perfect snack to satisfy your sweet tooth while providing a boost of energy. With their creamy texture and rich flavor, these bite-sized delights have become a favorite among kids and adults alike. This easy-to-follow recipe allows you to whip up a batch of wholesome peanut butter balls in no time. Made from simple ingredients found in your pantry, they are great for an after-school snack or a quick pick-me-up during busy workdays.
The beauty of peanut butter balls lies in their versatility. You can customize them with various add-ins like chocolate chips, crushed nuts, or dried fruits to suit your taste preferences. Whether you enjoy them plain or coated in chocolate, these little treats pack a punch of flavor and nutrition. Plus, they require no baking! In this article, we’ll guide you through the main ingredients needed to create these delicious morsels and provide step-by-step instructions for preparation. So roll up your sleeves and get ready to indulge in the delightful world of homemade peanut butter balls!
Main Ingredients
Peanut Butter
Peanut butter is the star ingredient in this delightful recipe. It serves as the base for your peanut butter balls and provides a rich flavor along with healthy fats and protein. Choose natural peanut butter without added sugars or oils for the best results. You will need 1 cup of creamy or crunchy peanut butter depending on your preference.
Honey
Honey acts as a natural sweetener and helps bind the ingredients together. It adds sweetness while providing various health benefits such as antioxidants and antimicrobial properties. For this recipe, use 1/3 cup of honey to achieve the perfect balance of sweetness without overpowering the nutty flavor.
Oats
Rolled oats offer texture and fiber to your peanut butter balls. They also make this treat more filling without adding too many calories. You will need 1 cup of rolled oats for this recipe. Ensure you use gluten-free oats if you have dietary restrictions.
Chocolate Chips
Chocolate chips make everything better! They add a touch of decadence to your peanut butter balls. You can use semi-sweet or dark chocolate chips depending on your taste preference. For this recipe, incorporate 1/2 cup of chocolate chips into the mix.
Vanilla Extract
Vanilla extract enhances the overall flavor profile of your peanut butter balls by adding depth to the sweetness. Just 1 teaspoon is enough to elevate the taste without overpowering other ingredients.
How to Prepare Peanut Butter Balls
Step 1: Gather Your Ingredients
Before you start making your peanut butter balls, gather all your ingredients on a clean countertop or workspace. This ensures that you have everything at hand while preparing the mixture. Measure out 1 cup of creamy peanut butter, 1/3 cup of honey, 1 cup of rolled oats, 1/2 cup of chocolate chips, and 1 teaspoon of vanilla extract.
Having all ingredients ready not only saves time but also helps avoid any mishaps during preparation. Once you have gathered everything needed for this delicious treat, you’re ready for the next step.
Step 2: Mix The Ingredients
In a large mixing bowl, combine the measured amounts of creamy peanut butter and honey first. Use a spatula or wooden spoon to blend them together until well combined and smooth in texture. Next, add in the rolled oats gradually while stirring continuously until they are fully incorporated into the mixture.
Afterward, fold in the chocolate chips and pour in the vanilla extract gently mixing everything together until evenly distributed throughout each ball’s mixture. At this point, it should form a sticky but manageable dough-like consistency that’s easy enough to mold into small bite-sized pieces.
Step 3: Shape The Balls
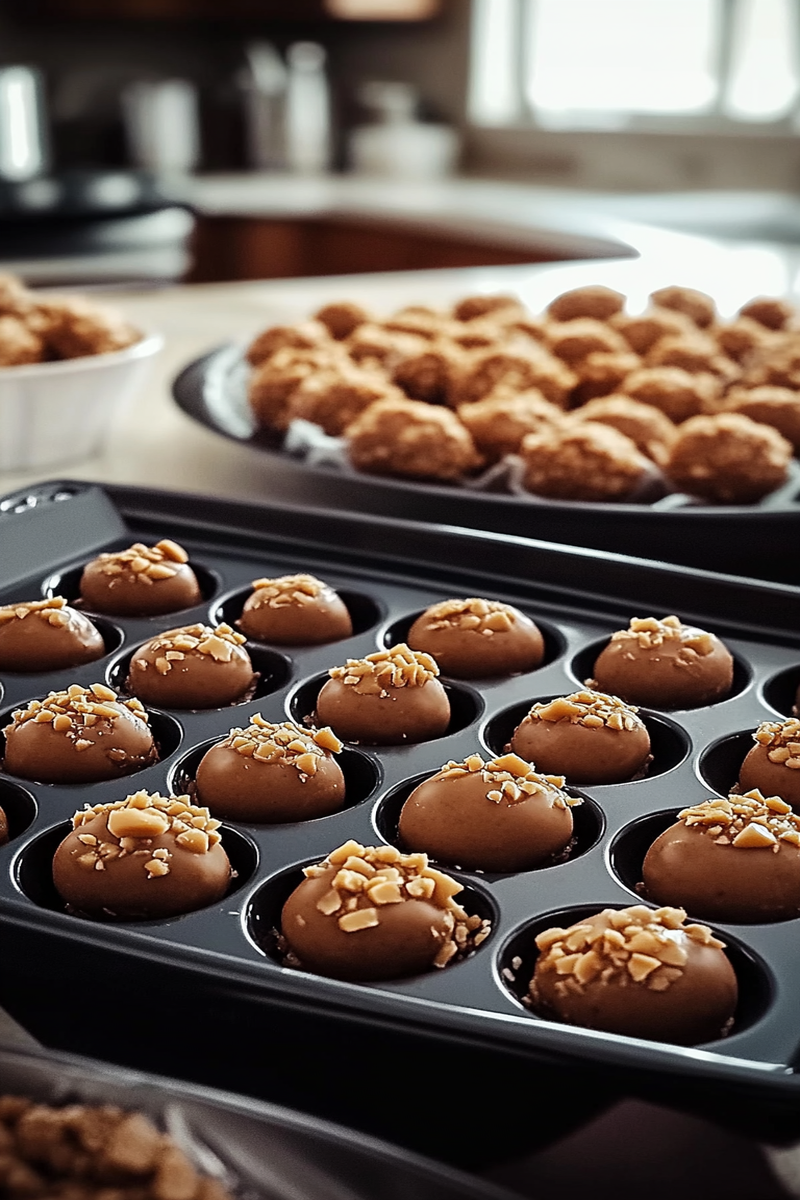
Once your mixture is fully combined, it’s time to shape them into small balls! With clean hands (or using a cookie scoop), take about one tablespoon of dough at a time and roll it into round shapes between your palms.
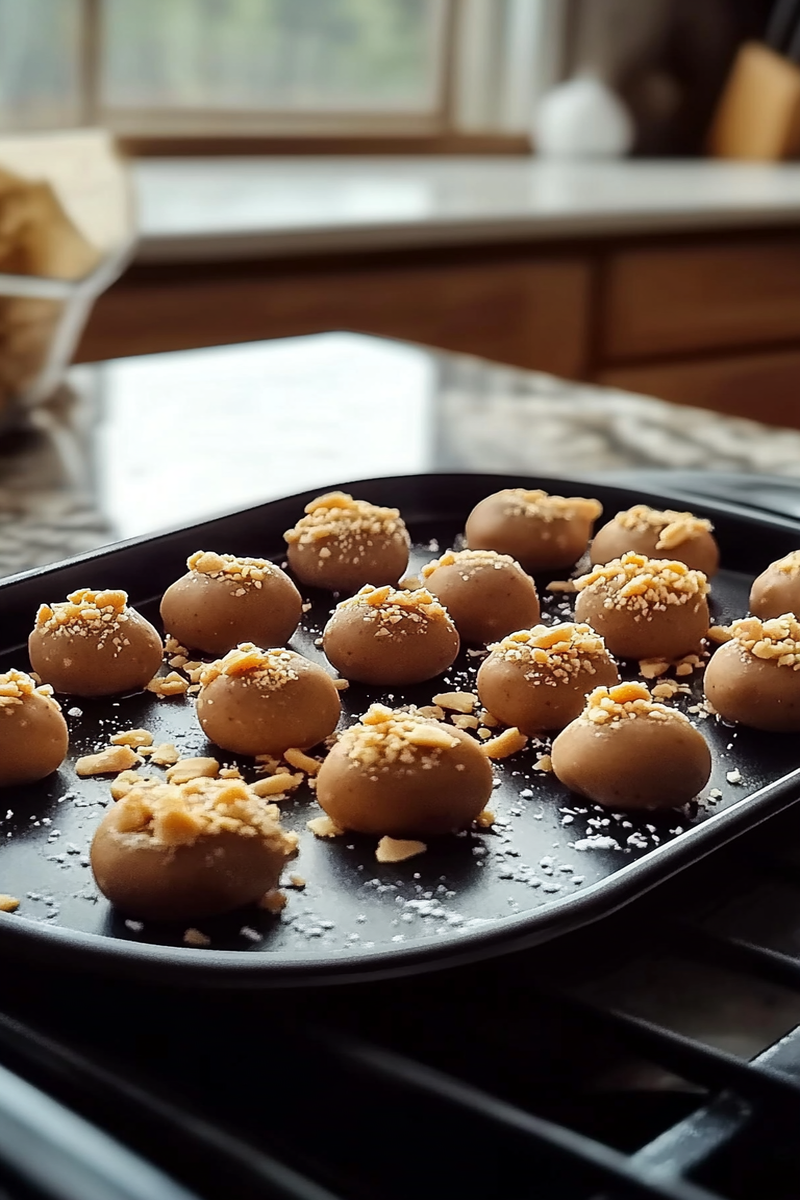
Continue doing so until all of the mixture has been formed into individual bites—this should yield approximately 20-25 balls depending on how large you make them! Place each shaped ball onto a parchment-lined baking sheet or plate that fits comfortably in your refrigerator.
Step 4: Chill The Balls
Now that you’ve shaped all your peanut butter balls it’s essential to let them chill properly before serving! Place them inside an airtight container or bag if preferred then transfer it directly into your fridge allowing at least 30 minutes for optimal firmness.
This chilling time allows flavors to meld together beautifully while making them easier to handle later when serving! If you’re short on time though even just ten minutes would suffice—just note they’ll be softer than intended!
Serving and Storing Tips
Serving Suggestions
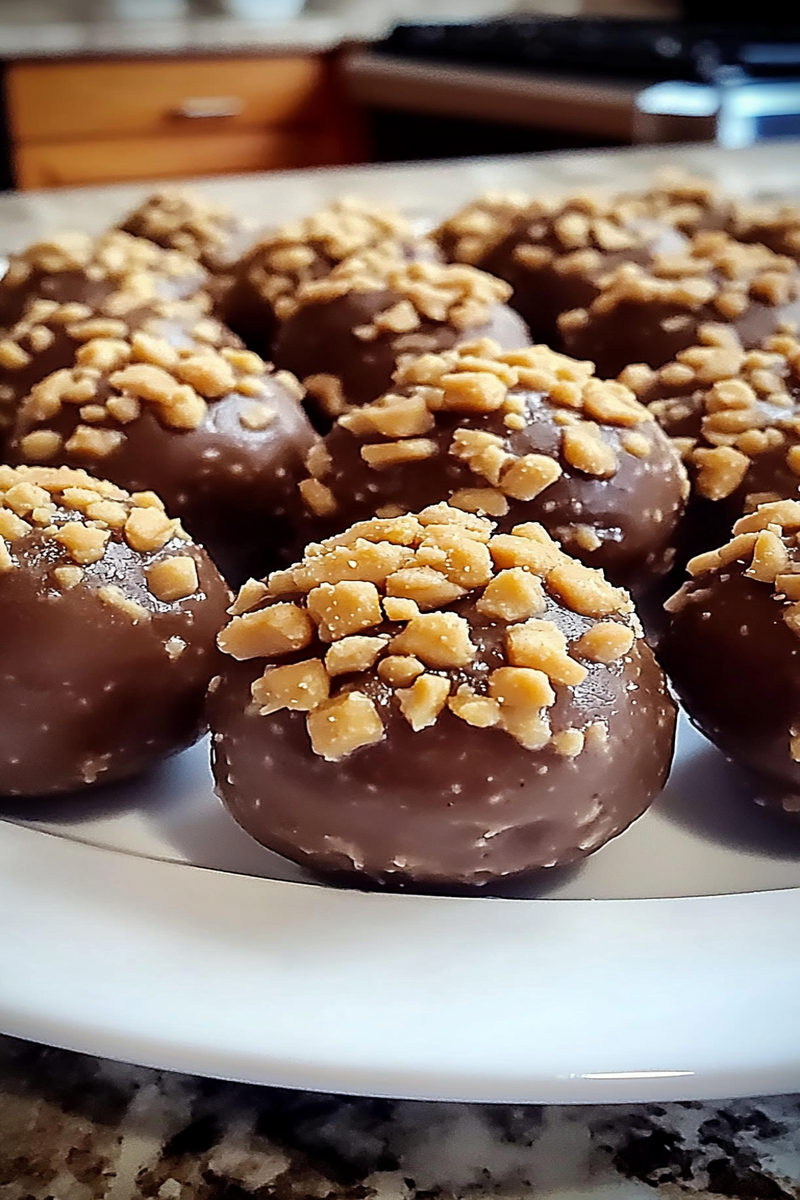
When it comes time to serve those delightful peanut butter balls there are many ways you can enjoy them! They make fantastic additions alongside fruit slices like apples or bananas creating balanced snacks filled with protein fiber vitamins!
For entertaining purposes try serving these bites at parties alongside yogurts dips—your guests will appreciate having something healthy yet scrumptious available!
Additionally consider pairing these tasty treats with coffee tea making an enjoyable afternoon snack option everyone loves! You might even want drizzle melted chocolate over top again elevating presentation significantly—it’s all about creativity here!
Storage Guidelines
To keep your homemade peanut butter balls fresh longer store them properly! Place any leftovers into an airtight container then refrigerate where they’ll last up two weeks max keeping flavors intact!
If you want extended shelf life consider freezing instead—place each cooled ball onto parchment-lined trays first ensuring none touch then freeze until solid finally transferring each portioned batch within labeled freezer bags storing up three months safely!
When ready consume simply thaw overnight inside refrigerator beforehand enjoying those delightful bites anytime cravings arise!
Mistakes to avoid
When making peanut butter balls, avoiding common mistakes can make a significant difference in taste and texture. One frequent error is not measuring ingredients accurately. Peanut butter has a strong flavor, and using too much or too little can lead to an unbalanced taste. Always use measuring cups and spoons to ensure you have the right proportions.
Another mistake is skipping the refrigeration step after mixing the ingredients. Chilling the mixture helps it firm up, making it easier to roll into balls. If you skip this step, the mixture may be too sticky and difficult to handle, leading to unevenly shaped peanut butter balls.
Overmixing is another pitfall many encounter. While it’s essential to combine all ingredients well, overmixing can make the texture grainy or tough. Mix until just combined for the best results. Pay attention to your mixing method; using a wooden spoon or spatula instead of an electric mixer can help prevent overmixing.
Using low-quality peanut butter can also impact your final product significantly. Opt for natural peanut butter without added sugars or oils for a healthier and tastier treat. Lastly, don’t forget about flavor variations! Many people stick with traditional recipes and miss out on exciting additions like chocolate chips, dried fruit, or nuts that can elevate your peanut butter balls.
Tips and tricks
To perfect your peanut butter balls recipe, consider these useful tips and tricks that will enhance your experience in the kitchen. Start by selecting high-quality ingredients; choose creamy natural peanut butter for the best flavor and texture. If you prefer crunchy peanut butter, ensure it’s well-mixed before incorporating it into your recipe.
Experiment with add-ins! Adding ingredients like oats, honey, or protein powder can provide extra nutrition while changing the flavor profile of your peanut butter balls. For a delightful twist, consider mixing in mini chocolate chips or coconut flakes.
Another tip is to wear gloves while rolling the mixture into balls. This keeps your hands clean and makes handling sticky mixtures much easier. If you find that your hands are sticking too much during this process, lightly oil them with cooking spray or coconut oil to help.
Make sure to store your finished peanut butter balls properly; they should be kept in an airtight container in the refrigerator for optimal freshness. They typically last up to two weeks if stored correctly but won’t last long because they’re so delicious! Lastly, consider doubling your recipe; these treats are popular among family and friends, so having extras on hand is always a good idea.
Suggestions for Peanut Butter Balls
When preparing peanut butter balls, there are numerous suggestions that can enhance their appeal and taste. First off, think about incorporating different nut butters like almond or cashew for a unique twist on the classic recipe. Each type of nut butter brings its own flavor profile that might surprise you positively.
Next, consider rolling your peanut butter balls in various coatings such as crushed nuts, sesame seeds, or even cocoa powder before chilling them. This step not only adds visual appeal but also provides additional texture that contrasts beautifully with the creamy center.
For those who prefer a sweeter option, adding maple syrup or agave nectar can elevate the sweetness without overwhelming the natural flavors of peanuts. Adjusting sweetness levels allows you to cater to different taste preferences easily.
If you’re looking for a protein boost—consider adding powdered protein supplements directly into your mixture; this adjustment makes them perfect post-workout snacks! Additionally, if you want a fun presentation for special occasions like parties or holidays, try skewering mini peanut butter balls on sticks and decorating them creatively!
Lastly, don’t hesitate to get creative with flavors! Experiment with spices like cinnamon or vanilla extract for added depth of flavor that complements the rich taste of peanut butter excellently.
FAQs
What are Peanut Butter Balls made of?
Peanut Butter Balls are typically made from simple yet delicious ingredients including natural peanut butter, oats (or other binding agents), honey (or another sweetener), and sometimes chocolate chips for added sweetness. The base ingredient is usually creamy or crunchy peanut butter mixed thoroughly with other dry ingredients like oats before being rolled into bite-sized spheres.
Can I use alternative sweeteners in Peanut Butter Balls?
Yes! You can substitute traditional sweeteners like honey with alternative options such as maple syrup or agave nectar based on personal preference or dietary restrictions. Each alternative sweetener will impart a slightly different taste but will keep the overall texture similar when combined correctly with other ingredients in your recipe.
How do I store Peanut Butter Balls?
Store Peanut Butter Balls in an airtight container placed inside the refrigerator for maximum freshness and longevity. They generally remain good for up to two weeks when refrigerated properly but might not last long since they make such irresistible snacks!
Are Peanut Butter Balls gluten-free?
Peanut Butter Balls can be made gluten-free by ensuring all ingredients used comply with gluten-free standards—like selecting certified gluten-free oats if included in the recipe. Always check labels carefully to guarantee no cross-contamination occurs during manufacturing processes if gluten sensitivity is an issue.
Can I freeze Peanut Butter Balls?
Absolutely! Freezing Peanut Butter Balls is an excellent way to extend their shelf life further than refrigeration alone allows—you can freeze them individually on a baking sheet first before transferring them into an airtight container once fully frozen! They typically stay fresh for up three months when stored correctly this way.
Do I need any special equipment for making Peanut Butter Balls?
No special equipment is necessary! All you need are basic kitchen tools such as measuring cups/spoons along with bowls for mixing—and optionally—you might want some parchment paper lined trays/sheets where you’ll place formed balls while chilling them afterward before serving!
Conclusion
In conclusion, preparing delicious Peanut Butter Balls requires attention to detail while avoiding common mistakes related to measurements and ingredient quality. By following practical tips and utilizing creative suggestions throughout this process—from ingredient selection through storage methods—you’ll achieve delectable results every time!
Remember that experimenting with flavors enhances both satisfaction levels among family members as well as presents countless opportunities tailor-made specifically suited towards individual preferences—so don’t shy away from trying something new! With proper storage techniques ensuring freshness remains intact post-preparation allows enjoyment at any moment whenever cravings arise!
With these insights at hand along with easy-to-follow guidelines provided above—making fantastic homemade Peanut Butter Balls becomes enjoyable rather than daunting endeavor worth sharing among friends & family alike!
PrintPeanut Butter Balls
- Total Time: 35 minutes
- Yield: 20-24 balls 1x
Description
These no-bake treats are rich, creamy, and perfect for snacking or holiday gifting!
Ingredients
- 1 cup creamy peanut butter
- 1/4 cup unsalted butter, softened
- 2 cups powdered sugar
- 1 tsp vanilla extract
- 2 cups chocolate chips (semi-sweet or milk)
- 1 tbsp coconut oil (optional, for smooth coating)
Instructions
- Make the Dough: In a bowl, mix peanut butter, softened butter, vanilla, and powdered sugar until smooth.
- Shape: Roll into 1-inch balls and place them on a parchment-lined tray. Chill in the freezer for 20 minutes.
- Melt Chocolate: Melt chocolate chips with coconut oil in a microwave-safe bowl in 30-second intervals until smooth.
- Dip: Use a fork or toothpick to dip each ball into the chocolate, tapping off excess. Place back on the tray.
- Set: Chill until the chocolate hardens.
Notes
- Sprinkle with sea salt or drizzle with white chocolate for extra flair.
- Store in an airtight container in the fridge for up to 1 week.
- Prep Time: 15 minutes
- Cook Time: 20 minutes
Nutrition
- Calories: 140
- Fat: 8g
- Carbohydrates: 14g
- Protein: 3g

